Vegan MOFO, Day 9
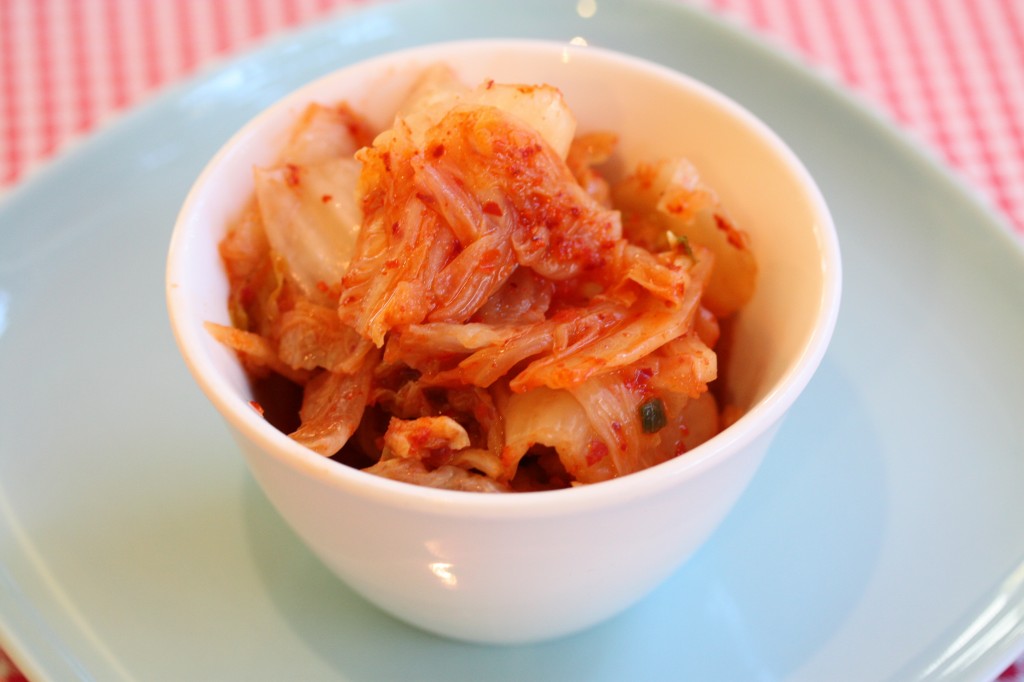
Oh my, if you haven’t had the pleasure of homemade kimchi, have I got a surprise for you. This is Korean-style comfort food, and one of my absolute favorite dishes!
When my brother and I were growing up, my mom turned us on to many different cuisines, but I think my favorite has always been Korean food. My mom was a school teacher (retired now), and we were often invited over to her student’s homes, for what can only be described as a feast. Just stepping through the door, the incredible aromas of garlic, sesame and chilies were absolutely intoxicating. I would eat until I was beyond full. I still dream about those dinners.
I haven’t outgrown my love for Korean food. And my husband and I raised our kids on it as well. When we lived in Boise, Idaho, there was a very special little Korean restaurant run by the sweetest couple. He ran the front of the restaurant, and she did all of the cooking in the back. Oki made everything from scratch, from the hot fermented chili paste to the miso. We would eat there as often as we could (usually weekly), and devour whatever delicious creations Oki had cooked up for us. At the end of the meal, Oki would always come out and ask our son Noah (who was probably 5 or 6 at the time) if he was full. His answer would always be “not yet Oki”. And she would go back into the kitchen and cook him up another dish, and this would continue on until his belly was completely puffed out, and his pants were unbuttoned. Oh do we all miss Oki’s food!
So fast forward to 6 years ago, when I became vegan, and needed to find a kimchi without the usual non-veg ingredients (like shrimp, fish sauce and/or oysters). So I came up with a recipe that has all of the delicious flavors of kimchi, without the seafood. Now, before you say that it’s not really kimchi without the fish, know that there are literally thousands of varieties of kimchi. There is no one right or wrong way to make it. This kimchi is also super easy to make, and with just a few ingredients. You will need to make a trip to a Korean or Asian market though (or really well stocked specialty grocery), and pick up a few key ingredients like the special chilies or chile powder, the sweet rice flour, fresh ginger, garlic and nappa cabbage. Don’t try to substitute another chile powder though. You need the real Korean chilies to make this. Seriously!
I also filmed a video on how to make the kimchi as well. It’s an older video (back when I had long black hair-so no laughing!). The only thing that I have changed slightly in the recipe, since filming the video, is that I now add in a small touch of sugar (thanks to Debbie), and I let it ferment longer (a day or two) before refrigerating it. I know that it seems like a short time to ferment (especially since traditionally it’s buried for months in the ground), but it continues to ferment in the refrigerator. Then you’ve got a nice big batch of kimchi to eat, toss into soup, make savory kimchi pancakes and more. Kimchi is the bomb baby! Oh, and I also forgot to add that I sometimes add diced, peeled daikon radish (good size cubes) or diced red radishes. It would also probably be delicious with slices of Persian or small pickling cucumbers too.
Julie’s Kimchi
This recipe makes a lot, so feel free to cut the recipe in half. You can find the video for the recipe on Everyday Dish (here)
1-1/2 cups water
1-1/2 tablespoons sweet rice flour
1/4 cup minced ginger
1/4 cup minced garlic
1 large head Nappa cabbage (about 4-1/2 pounds), sliced into 1-inch or larger pieces
3-4 tablespoons kosher salt
A sprinkle or two of granulated sugar
5 tablespoons Korean hot pepper flakes or powder
1/2 cup thinly sliced scallions
1. In a saucepan, whisk together water and rice flour until smooth. Heat over medium heat, whisking continuously, until mixture thickens and starts to simmer. Remove from heat and let cool off a bit. Add ginger and garlic, whisking well.
2. In a very large bowl, add cabbage and sprinkle with salt, sugar, pepper and scallions, tossing to mix. Let sit for 5 minutes. Pour sauce over cabbage, tossing well. Place in a large glass crock or food-safe plastic Cambro container.
3. Let the mixture sit at room temperature overnight or for up to two days, if the weather isn’t too hot. Refrigerate the kimchi until ready to eat or use.
Tip:
This kimchi can be served as a salad the day that it’s made, or refrigerated for up to a week or longer. The kimchi will continue to ferment, developing a stronger flavor each day.
Copyright © 2012 Julie Hasson


I can testify to the deliciousness of this kimchi!
xo
kittee
You’re the best kittee!
When do you add the sugar?
Homemade kimchi is the absolute best! I’ll be sure to try out your recipe next time I’m in the mood to make it.
This seems better than the ones with radish, nothing against radishes. And I see no soy sauce so that makes me happy.
I shall give it a go soon
Thx